It's not always the easiest thing to choose a WordPress theme for an online store. Because you don't want to make the wrong decision. Then get stuck with a theme that doesn't fit your brand.
If you are a businessman and entrepreneur who wants to sell his products online, then you are in the right place. With this Shopkeeper WordPress theme, you can showcase your products and brands online.
I recently became interested in the Shopkeeper theme. Because it's a framework built on two years of customer feedback on ThemeForest. It's customizable so you won't be stuck with any components you don't like on the go. The theme comes with several plugins that make it even cooler.
I will give you an in-depth review of the Shopkeeper WordPress theme to see if it is worth your money. At first glance, the theme has an almost five-star rating from a decent sample size of customers. The $59 price tag isn't that crazy considering. You're getting a premium theme with solid customer support and a few premium plugins.
Why opt for the WordPress Shopkeeper theme?
For anyone who wants to own an online store and wants to sell their products online. The Shopkeeper WordPress theme is the right theme for them. In fact, you can also use this theme quite easily.
With the Shopkeeper Responsive WordPress Theme, you can put any kind of merchandise online and present it in the best possible way you can.
The theme can prove to be beneficial for all marketers, entrepreneurs, and local store owners who own a brick-and-mortar store and want to expand their business worldwide through the internet.
Getting started with the Shopkeeper WP theme
The shopkeeper is an eCommerce ready theme that can use to make your brand popular online. It can also allow you to create your own online store for your business.
With the help of this WordPress theme, the website becomes a very easy task. Now everyone can create their own beautiful website without having any programming knowledge.
Not only is the theme useful for setting up your online store. But it also allows you to create your own portfolio and blog template for your website. It offers various customizable layout options for landing pages, full-width sliders, parallax, and product catalogs.
The Shopkeeper WordPress theme offers a Visual Composer plugin that lets you create advanced layouts for your posts, pages, and homepage with drag and drop, backend, and frontend editors. Where articles submitted by WordPress site admin called posts and pages are like posts.
With the Slider Revolution plugin, you can create slideshows for your content, products, and images.
You can give your website a spectacular look by using this responsive and multi-purpose theme for business or personal use. It includes a sticky header navigation tool that fixes the header at the top of the web page as the customer scrolls down the page, helping the customer find the relevant products they are looking for on your site.
Installing the Shopkeeper Theme
To start, the Shopkeeper installation process is just like any other theme installation. You go to the main Shopkeeper page on ThemeForest, pay for the theme, and download the zip file to your computer. You can always log back into the ThemeForest website if you need to grab the theme again for another site.
Open up the back-end of your WordPress website and go to Appearance > Themes. Click the Add New button, then the Upload Theme button. Just click on the Choose File button to find the Shopkeeper zip file on your computer. Walk through the rest of the installation and activation steps.

The WordPress dashboard will tell you once the theme is completely activated. After that you are not completely finished with the installation and activation process.
Although you don’t have to install the plugins that come with the Shopkeeper theme, I would recommend doing so since it includes some pretty sweet options that you might end up installing anyways, such as WooCommerce, Contact Form 7, and the Envato Toolkit.
To install these plugins, go to the little warning message that pops up at the top of your dashboard and hit the Begin Installing Plugins link. Install and activate all the plugins to complete the entire process.

Keep in mind that the Shopkeeper zip file you initially download is not what needs to be uploaded into the WordPress dashboard. You actually have to unzip the file and locate theshopkeepper.zip file under Theme Files.
I always like importing some dummy content before getting started with my own themes, so Shopkeeper gives you the proper files to do this. Go to Tools > Import in your WordPress dashboard, and select the WordPress option.
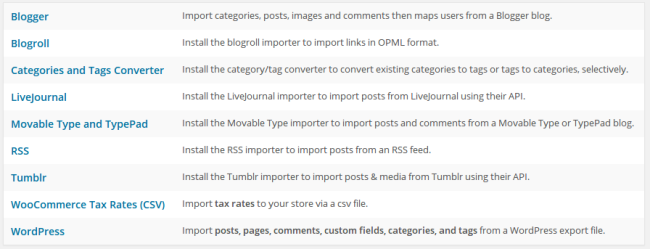
Click the Choose File button and select the Importable-Dummy-Content.xml file to upload and activate on your website. This can be found in the zip file that Shopkeeper gave you with all the download files. Assign an author and import all the content. This usually takes a few minutes, and it’s a nice way to get a feel for what the theme can do for your website.
Obviously you can delete this content later, but I like to replace it with stuff that would better fit my brand. Not every theme gives you dummy content, so take advantage of this instead of starting completely from scratch with the theme.
Modifying the Content on Your Theme
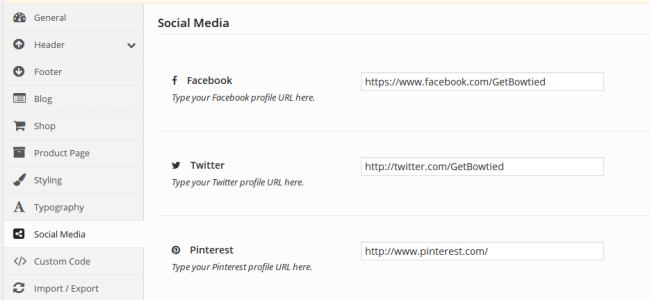
The shopkeeper makes it fairly easy to change the way your website looks, because they have a nice little Theme Options tab on the left hand side of your dashboard. Many themes make it hard for you to find the general settings, but this is placed right at the top of the toolbar, and you can jump between the different settings like for headers, footers, styling, social media and more.
What’s Great About the Shopkeeper Settings?
Right from the start you’ll notice an area to upload a favicon for your online shop. This is unique, because you usually have to activate another plugin or go into your code to put a favicon on the site. A favicon is the little icon that shows up for people in the browser tab, further branding your site.
![]()
The Header tab is broken down nicely, so you can upload your logo and even create an alternative logo for mobile devices. Modify the logo height, and even change up how transparent you want your header to look.
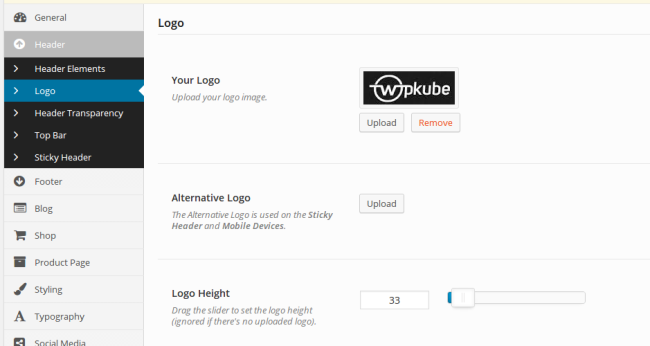
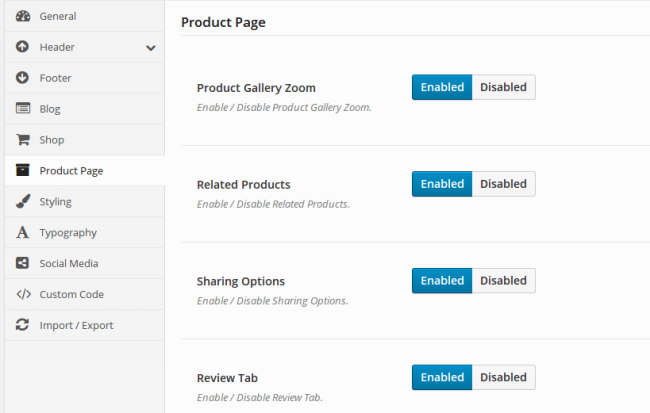
They really dive in deep when it comes to the product pages. Feel free to go in there and change what people see such as a product gallery zoom and related products. Remember, all of these components usually require some sort of plugin or code modification, so you don’t have to clutter your site with that.
Instead, the entire theme is designed to keep your site as lightweight as possible.
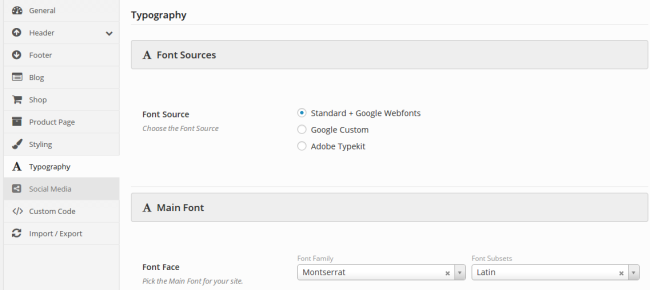
You can even change the fonts and stylings with a few simple clicks, considering you have access to Google Webfonts and the ability to even make your own custom fonts.
Change around the colors for your buttons, and even click around to type in your own custom code if something isn’t working that well.
Along with a wishlist, shopping cart and a blog that includes a sidebar, the features are quite plentiful with the Shopkeeper theme.
What’s Not So Great About the Shopkeeper Settings?
The theme includes just about every social integration you can think of, but there’s no option to change the way these social buttons work. I was even a little hardpressed to change where the social buttons would show up on my site.
Using WooCommerce
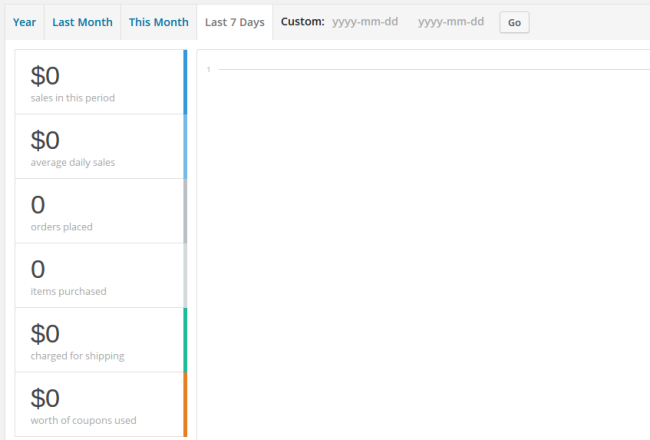
If you’ve ever used WooCommerce you won’t find anything different here. The plugin integrates flawlessly with Shopkeeper, and you can find the button in the toolbar on the left hand side of your dashboard. Feel free to check on your sales reports and modify settings for sales pages and products.
WooCommerce has a separate Products tab on the left, so you can go in and add whatever products you want, change the pricing and make up some creative descriptions.
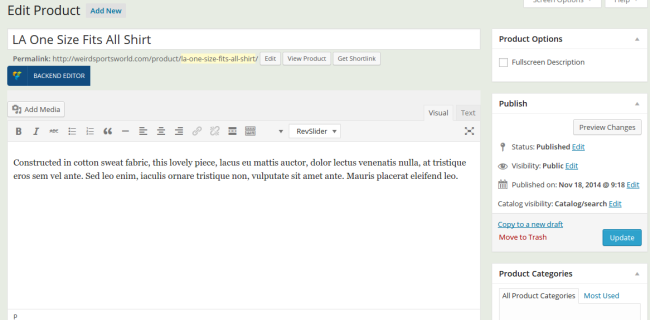
The only thing that gets a little tedious is jumping back and forth from the WooCommerce pages to the Shopkeeper settings. You may want five columns to list your products, but you can’t change this in the products section. You have to keep testing and switching back to the Settings page to get the exact look you want.
Using the Drag and Drop Editor
As we kind of talked about above, you also receive a few plugins with your purchase, meaning you save some money, because you don’t have to pay for them separately. The best plugins that come with the theme are the slider and Visual Composer plugins.
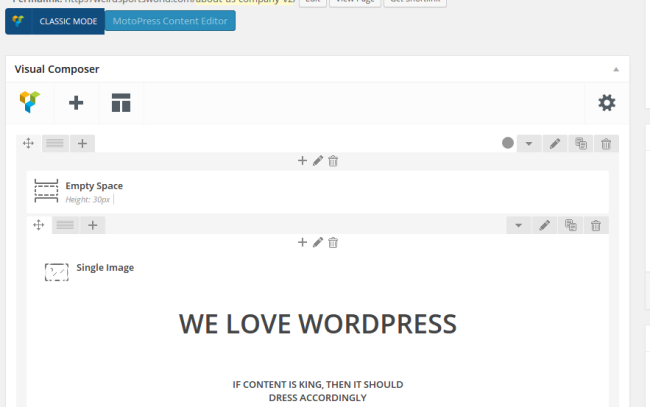
You can basically open up a page or blog post and start dragging and dropping components instead of working with the code or pushing buttons and trying to figure out how to use the WordPress interface. So, if you have a text box or image sitting at the top of the page you just have to click and drag to move it somewhere else.
This is a huge bonus, and a time saver, for anyone who is running an online shop. There are tons of things to manage when working on an eCommerce site, so this makes it just a little easier for you.
You’ll notice that the Shopkeeper theme comes with the Slider Revolution plugin, which is typically $14. What’s so great about the Slider Revolution plugin? Well, it lets you customize anything you want, so if you want a full page slider that moves automatically you can go ahead and do that. If not, just change around the settings to get the perfect slider for your business.

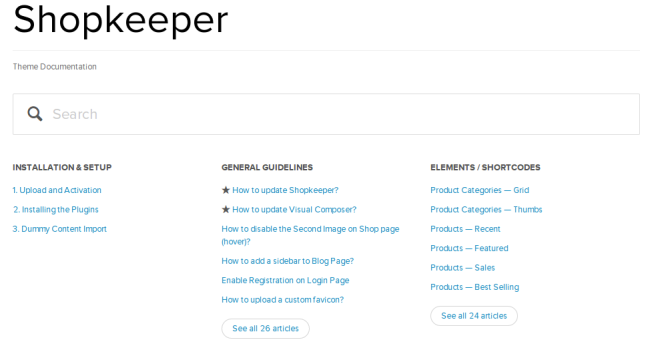
Using Shopkeeper Support
Conclusion
I really enjoy the Shopkeeper theme, because the setup process is flawless, you don’t need to worry about getting confused with the drag and drop editor, and just about every plugin you will need to run your shop is included during the installation process.
You’ll notice that the homepage is rather sleek, cutting down on the useless components that typically cover eCommerce pages. The slider isn’t all that distracting, but it allows you to upload nice photos without degrading them in any way.
Share your thoughts in the comments section if you have any questions about this Shopkeeper WordPress theme review. Have you used this theme in the past? If you plan on purchasing it, what are your primary concerns?




0 Comments